How to Build a Pad That Breathes: Evolving Dream Textures, Layer by Layer
sapi_44530a
September 13, 2026
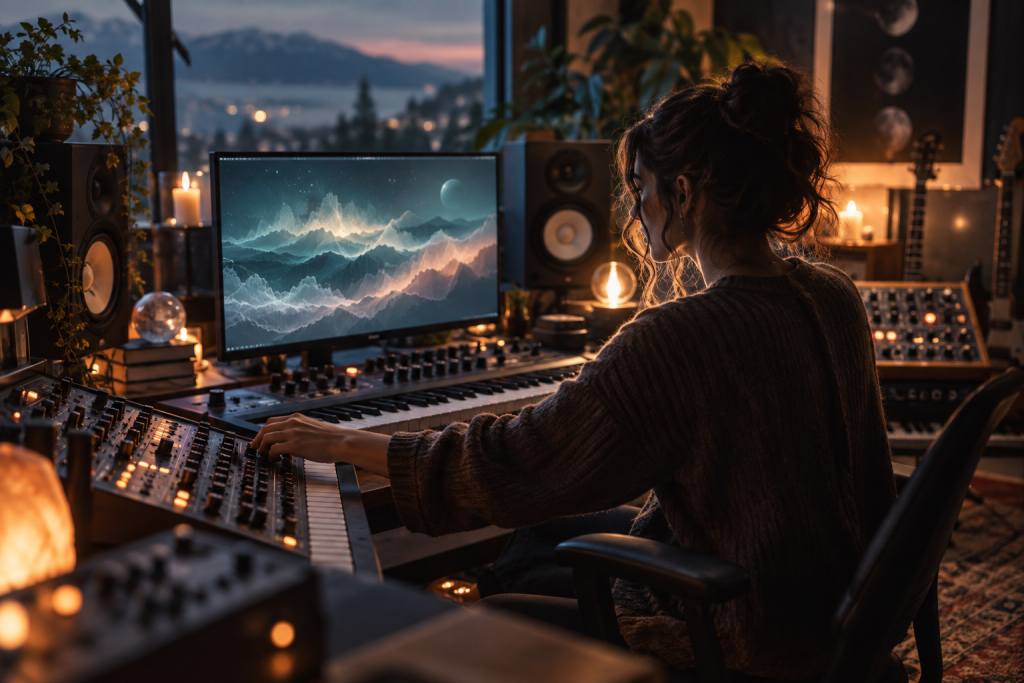
Every pad that truly breathes has three things happening at once: movement inside the oscillators, movement in the filter or amplitude, and movement in the space around it. Miss any one of those and you get a static chord that sits in the mix like a photo instead of a living thing. The good news is that you don’t need some mythical super-synth to pull this off. You need a wavetable oscillator, a couple of well-routed LFOs and mod envelopes, and a reverb that can actually evolve rather than just splat a tail on top.
Let me walk you through how I build these, layer by layer, using tools most of us already have.
Start With the Source: Wavetables Beat Saw Stacks
The reason a wavetable synth is my first choice for dream pads is control per voice. Take Initial Audio’s Sektor. Beyond the two wavetable oscillators, a sub and a sampler, it lets you dig into the Osc+ tab and tweak each of the eight voices inside a single wavetable individually, swapping waveforms and parameters per voice. That’s the raw material for a pad that shifts under your fingers instead of just playing back a static shape. You also get four LFOs, mod envelopes, matrices, and expression envelopes to route all that movement (Bedroom Producers Blog).
If you’d rather not spend anything, two free options cover the same ground from different directions. Vital is the go-to for wavetable work, while Surge XT handles the rest, warm analogue-style pads through to aggressive FM and experimental textures, with regular updates from its dev team keeping it alive (Born To Produce). I’ll often build the core of a dream pad in Vital and layer a Surge XT patch underneath for body.
For that specific oxygen-rich, drifty quality, don’t sleep on granular-style or layered-voice approaches. The point isn’t the brand, it’s having at least one place where the waveform itself morphs slowly over time.
The Motion Engine: LFOs That Don’t Loop Obvious
Here’s where most people plateau. They assign an LFO to the filter cutoff, set it to 1/4 note sync, and call it a day. That gives you a pulse, not a breath.
Three fixes that changed how my pads sit:
- Unsync and detune your LFOs. Two or three LFOs at slightly different free-running rates, all pointed at pitch, filter, or wavetable position, create interference patterns that never repeat on a loop. On Sektor alone you’ve got four LFOs to play with, and they can double as modulation and oscillation sources, meaning you can use one as an audible sub-modulator rather than just a controller.
- Use mod envelopes for the arc, LFOs for the shimmer. A slow mod envelope over eight or sixteen bars gives the pad an overall “opening up” gesture. Fast-ish LFOs on top give it the micro-movement. Combine both and the sound feels like it’s alive at two timescales simultaneously.
- Modulate the modulators. Route an LFO to the rate of another LFO. This is the single cheapest trick for making a pad feel genuinely organic, and most modern synths (Sektor, Vital, Surge XT) support it in the modulation matrix.
If you’re working with an analogue-modeled synth instead, you get a different flavor of movement for free. In something like Arturia‘s Memory V, the oscillators interact with remarkable harmonic richness and the chords seem to be in constant motion even with no effects engaged, three VCOs per voice, each waveform modeled with its own nonlinearities, plus a drive stage that saturates as you push the mixer (Audiofanzine). That inherent instability is exactly what makes an analogue pad breathe. Stack a Memory V layer behind your wavetable layer and the combined result drifts in a way that pure digital rarely does.
The Space: Where Most Pads Actually Die
You can have the most gorgeous oscillator movement in the world and ruin it with a reverb that just adds a static tail. The space has to move with the pad, not sit behind it.
This is why I’ve become picky about the reverb I put on pads. A node-based reflection engine is a different proposition from a preset-based one, you’re not adjusting sliders, you’re shaping how sound blooms and fades, effectively drawing your own acoustic fingerprint instead of loading “Hall A.” That’s the whole game with evolving textures. VELA’s marketing copy aside, what makes the approach useful is the ability to sculpt decay, density, and damping over time, plus fully editable early reflections you can build from scratch and feed into the diffusion and filter stages. Adjustable modulation channels, speed, and amount let you bring subtle movement or intense shimmer into the tails (pluginerds).
That last point is the one to internalize: modulation inside the reverb is what separates a pad that breathes from a pad that’s just swimming in tail. If your reverb doesn’t have a way to move its own character, you’re stuck. A few practical routes:
- Modulate the reverb’s decay time or diffusion amount with an LFO synced slower than your pad’s own movement.
- Use built-in ducking so the reverb retreats when the pad swells and opens up when it recedes, integrated ducking is exactly this, keeping ambience out of the way until it’s needed.
- Tame harshness before it hits the reverb. A de-esser on the send means sibilant or brittle content doesn’t get smeared across the whole tail. Cleaner input, cleaner bloom.
Stereo: Distance as a Parameter
Breathing is partly a spatial illusion. A pad that evolves in place feels smaller than one that moves front-to-back as well as left-to-right.
There’s a nice trick here worth stealing from the free-plugin crowd: the Polar Pad uses its inner rings to control Distance, and the trick is finding the sweet spot where crosstalk cancellation creates a “phantom center” that feels distinct from the dry center channel. The synth seems to pop out of the mix in three dimensions, separating it from your vocal without touching a volume automation lane (Artists in DSP). Apply that logic to your pad buss, automate the distance parameter over the length of the section and the pad literally recedes into or advances toward the listener. That’s the breath.
Texture Beyond Synths: Sampling the Unsettling
Pure synthesis has a ceiling. To push a dream pad past “nice” into something you’d actually remember, I layer in recorded material, and this is where sample packs earn their keep.
The Kedr Audio experimental bundle is a good case study in what to look for. Aquaria is 2 GB of water-based sounds captured with hydrophones. Electromagnetic Fields is 7.4 GB of raw electronic material, humming wires, glitching machines, unsettling buzzing textures. Magnetophon is 1.27 GB of analog tape playback recordings made with vintage gear for a lo-fi aesthetic (Bedroom Producers Blog).
What I do with these: pick one hum or one hydrophone recording, pitch it down two octaves, high-pass it aggressively, and tuck it at maybe −18 dB under the synth pad. It won’t be identifiable, but it will make the pad feel like it exists in a real place. The tape and EM material is especially good for this because it already carries movement, the source is breathing before you even touch it.
Commit and Print
One last thing, and it’s the difference between finishing tracks and fiddling forever. Hardware producers have an advantage here that’s worth deliberately copying: when you print a take to your recording medium, the sound is frozen. You’ve made a choice, and you move forward instead of losing yourself in micro-adjustments that ultimately add nothing (Audiofanzine).
So when your evolving pad is working, bounce it. Print the eight-bar evolution to audio, drop the source plugin, and build the next layer on top of the frozen result. You get three benefits: CPU relief, a genuine commitment that stops the recursive tweaking loop, and a stack of layers each frozen with its own identity, which is exactly what a complex, breathing texture is anyway.
Do the oscillator movement, do the modulator movement, do the spatial movement, then print it and walk away. Three layers frozen like that will out-breathe any single patch you keep fiddling with until the song dies around it.